PsychNewsDaily Publishers
100 Summit Drive
Burlington, MA, 01803
Telephone: (320) 349-2484
PsychNewsDaily Publishers
100 Summit Drive
Burlington, MA, 01803
Telephone: (320) 349-2484

Making homemade cat treats allows pet owners to control ingredients, offering healthier options and variety while using simple recipes with accessible ingredients like tuna, salmon, and sweet potato.

Making your own cat treats puts you in charge of what goes into your pet’s snacks. It keeps things simple and a bit more fun in the kitchen.
You can grab everyday ingredients and whip up small, tasty bites your cat will actually enjoy. No need to rely on those store-bought bags all the time. Homemade treats let you offer healthier choices and add some variety to your cat’s routine.
In this article, you’ll find seven easy recipes that mix flavor and nutrition. Some are crunchy, some are frozen—there’s a little something for every cat.
You’ll also see which ingredients work best for cats and how to store your treats so they stay fresh. Each recipe is meant to be quick, practical, and honestly, not a huge hassle.

You only need a few simple ingredients for these treats. Tuna brings a strong flavor most cats love, and catnip just makes them even more appealing.
Mix canned tuna with a bit of flour and an egg. The flour holds the mixture together, and the egg helps bind it all. Throw in a spoonful of dried catnip if you want to make things extra interesting.
Once the dough comes together, roll it into tiny bite-sized pieces. Put them on a parchment-lined baking sheet. Bake until they’re firm but not rock hard—your cat still needs to chew them, after all.
Let the treats cool down before handing any over. Store extras in an airtight container in the fridge for up to a week so they stay fresh and safe.
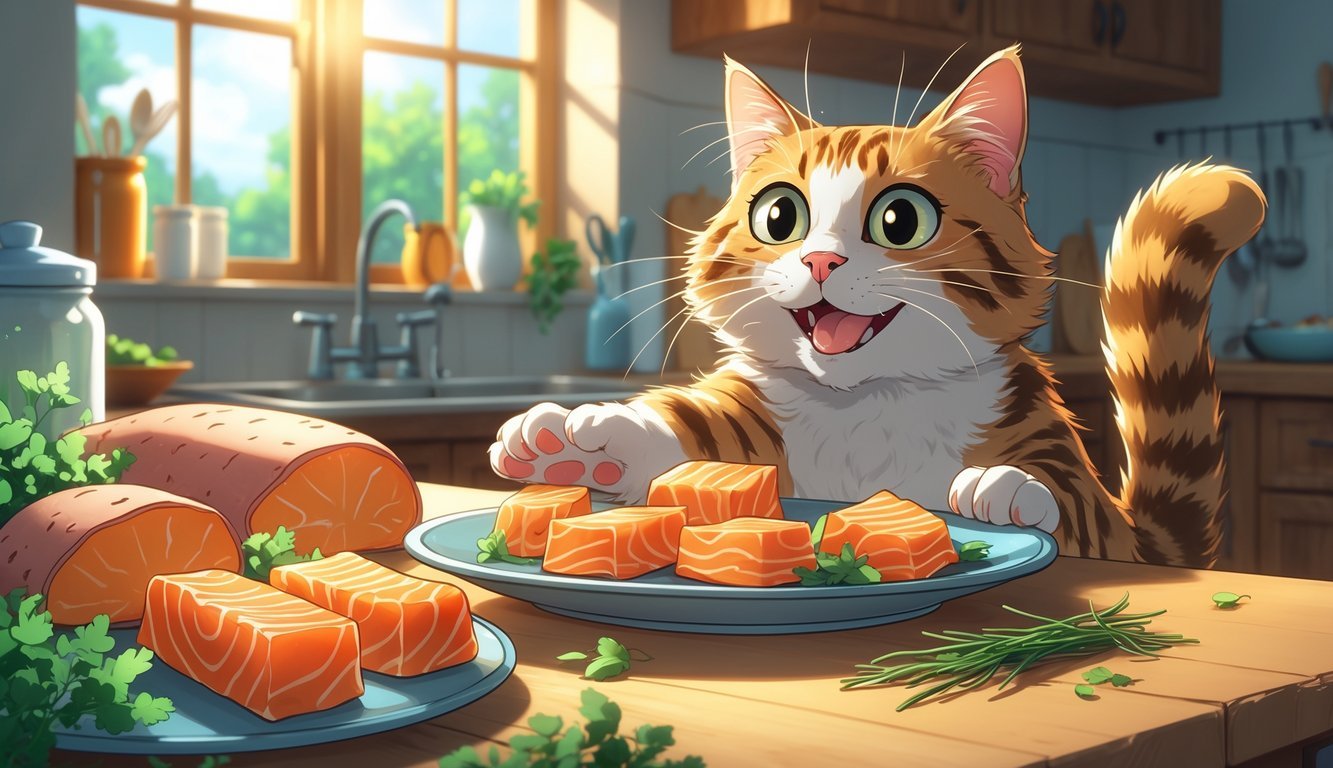
You only need a few basic things here. Salmon gives your cat plenty of protein, and sweet potato adds fiber and a little sweetness. Both are easy to find.
Bake or steam a sweet potato until it’s soft, then mash it up. Mix in canned salmon, breaking up any big chunks. This makes a smooth base that’s easy to work with.
Add some oats to help bind everything. If you want a finer texture, blitz the oats in a food processor first. That makes shaping and baking easier.
Press the dough into small molds or roll it into little pieces. Bake until they’re firm, then let them cool. The crunchy texture and mild flavor usually go over well.
Store these in an airtight container for a few days. You can freeze extras to keep them fresh—super handy if you want a healthy snack ready for your cat.

These meatballs come together fast with just a few things. Start with cooked chicken since it’s lean and easy for cats to digest. A little shredded cheese adds flavor cats usually love.
Finely chop or shred the chicken. Mix it with grated cheese and a beaten egg so it all sticks together. If it feels too wet, sprinkle in a bit of oat flour or coconut flour.
Roll the mixture into tiny meatballs, about marble-sized. Put them on a parchment-lined baking sheet. Bake at a low temp until they’re firm and lightly golden.
Let them cool before serving. Store leftovers in the fridge for a few days, or freeze them for later.
Give your cat one or two meatballs as a treat. Because they’re rich, stick to small and occasional portions so you don’t mess with your cat’s regular diet.
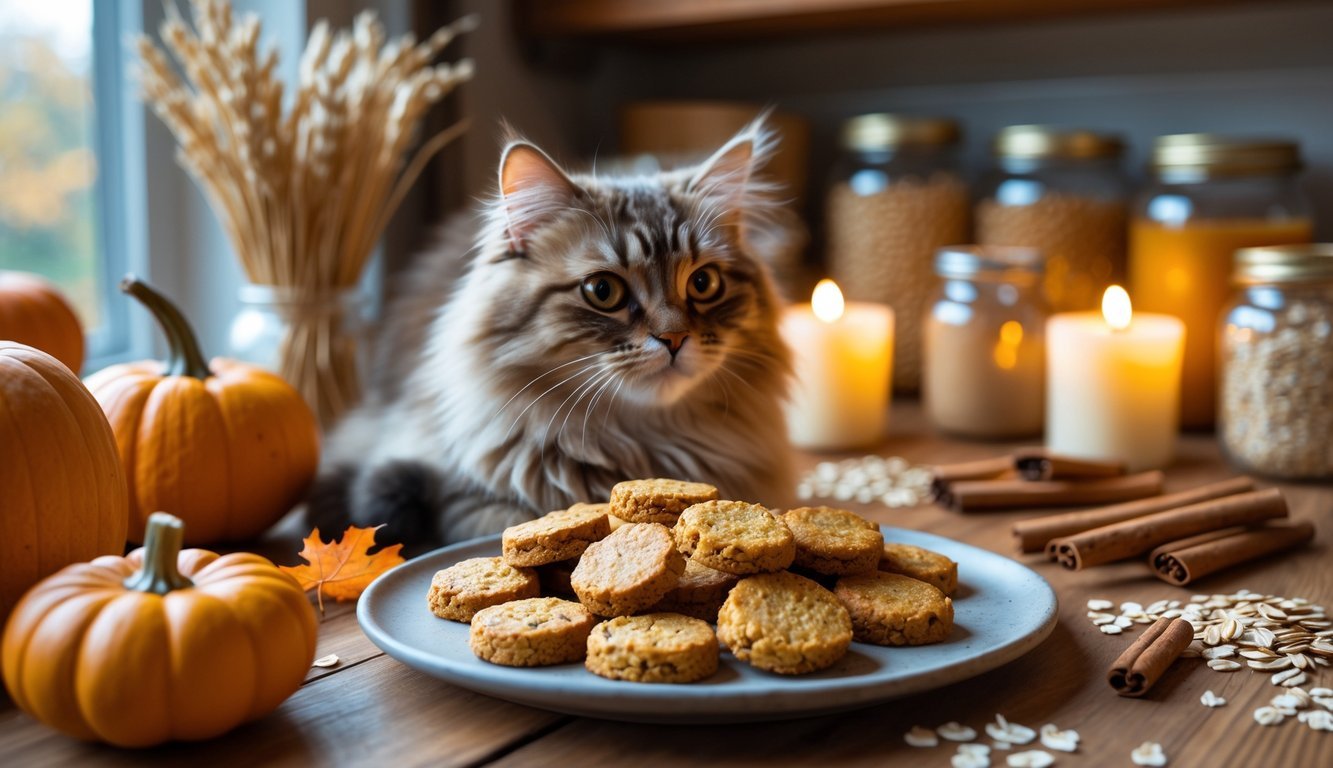
These treats are super simple and you might already have the ingredients. Pumpkin gives fiber and flavor, and oats help the treats hold their shape.
Mix canned pumpkin puree with oat flour. If you don’t have oat flour, just grind up rolled oats in a blender. Add a splash of water if the dough seems dry.
Roll the dough between two sheets of parchment. Cut it into small squares or shapes that your cat can handle.
Bake at 350°F until the pieces are firm and a little crunchy. Let them cool off before serving.
Store them in an airtight container for a few days, or keep them in the fridge if you want them to last longer.
You can serve them plain, or mix in a bit of tuna or catnip if your cat likes more flavor. It’s easy to tweak the recipe for your cat’s preferences.

These frozen pops only need two things: tuna and plain lactose-free yogurt. Lactose-free matters since most cats can’t handle regular dairy.
Drain a can of tuna packed in water. Blend it with a few spoonfuls of yogurt until smooth. Adjust the yogurt to get the creaminess you want.
Pour the mixture into an ice cube tray or silicone mold. Freeze for a few hours until solid, then pop them out and keep them in a sealed container.
When it’s treat time, give your cat one cube. These pops are great for hot days and add a bit of hydration, too.
Stick to small servings. Tuna should be an occasional snack, so one cube is usually enough.

You can throw these patties together with just a few ingredients. Sardines bring protein and healthy fats, while catnip makes things more exciting. Use canned sardines in water—they’re easier to mash.
Drain the sardines and save a little of the liquid. Mash them until smooth in a bowl. Add a bit of flour or breadcrumbs to bind the mixture, then toss in a pinch of dried catnip.
Shape the mix into small patties. Put them on a parchment-lined baking sheet. Bake at 325°F until they’re firm and a bit golden.
Let them cool before serving. Store extras in the fridge for a few days. Your cat will probably love the smell and taste.

These treats are easy and you probably have everything you need. Turkey gives lean protein, and parsley adds a fresh touch that can help with digestion and breath.
Cook plain ground turkey until it’s done. Let it cool, then mix in finely chopped parsley and a spoonful of oat or rice flour to help it stick together.
Shape the mixture into small balls or flatten them into little patties. Put them on a lined baking sheet and bake at a low temp until they’re firm.
Once cool, store the treats in the fridge for a few days. You can freeze extras and thaw them as needed.
These bites are easy to portion out, so you can give your cat a small piece at a time. That way, you don’t overfeed but still offer a tasty homemade snack.

When you make treats at home, you get to control what goes into your cat’s food. Using safe, nutrient-rich ingredients gives your cat protein, vitamins, and minerals—without weird additives.
Cats need protein above all else. Use cooked chicken, turkey, salmon, or tuna. These lean meats give your cat the amino acids they need to stay healthy.
Eggs work too. Just make sure they’re fully cooked to avoid bacteria.
Some grains and veggies are okay in small amounts. Oats, rice, and pumpkin are good choices for fiber and digestion.
Here’s a quick list you can check:
Keep portions small. Always cook meats before using them.
Some foods that are fine for people can actually hurt cats. Never use onions, garlic, grapes, raisins, or chocolate. These are toxic and can cause real harm.
Dairy like milk or cream can upset your cat’s stomach. Most cats are lactose intolerant, so just skip dairy or use very little.
Artificial sweeteners—especially xylitol—are dangerous. Even a tiny amount is bad news for cats. Avoid sugar and salty foods, too. Cats just don’t need them.
Here’s what not to use:
Double-check your ingredients before trying a new recipe. It’s always better to be safe.

Keeping your homemade cat treats fresh matters. It keeps the flavor and texture right, and helps you avoid giving too many at once.
Put baked treats in an airtight container at room temperature for up to five days. If you make a big batch, freeze the extras and pull out small portions as you need them. That way, nothing goes stale or to waste.
For soft or moist treats, use the fridge. They usually last about 3–7 days before they start to spoil. Label your containers with the date so you know when to toss them.
If you freeze treats, portion them into small bags or use an ice cube tray. That makes it easy to grab just what you need without thawing everything at once.
Try to keep your cat’s treats at no more than 10% of daily calories. Too many snacks? That can lead to weight gain or upset stomachs.
If your cat eats around 200 calories a day, stick to 20 calories or less from treats. It’s surprisingly easy to go over that if you’re not careful.
Offer treats in small, pea-sized pieces for most cats. Break up bigger treats so they’re easier for your cat to chew and digest.
Give treats as rewards during playtime or training, not just whenever. That way, treats feel special and you can actually keep track of how much your cat’s eating.
If your cat has health issues like obesity or kidney disease, definitely check with your vet about safe treat sizes before you start offering homemade snacks.